Using the GIMP for Exposure Blending
Too Light or Too Dark
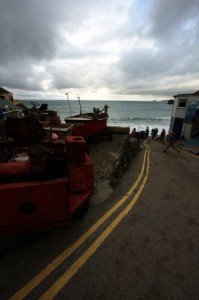
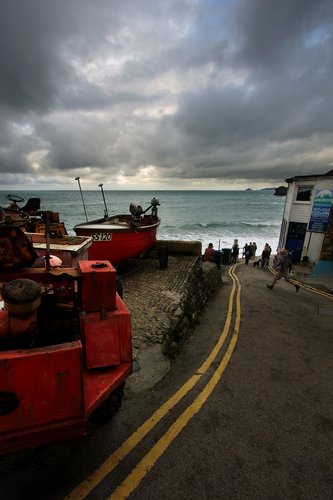
I was going through some photos I took the other day and found one I liked. The only problem was either the sky was blown or the foreground was too dark.
Exposure Blending
So, the solution was to take three (-1, 0 and +1.25) “exposures” from the RAW file and combine them using the GIMP. I created three layers and erased/cut out (using the “Free Select Tool”) the appropriate areas; to aid the erasing I created a brush with radius 100px. Add a touch of dodging and burning and there we have the lighting sorted out.
Now for the rest of the image, as it was taken using an ultra wide-angle lens, namely the Canon 10-22mm, the horizon was a little distorted (as was the rest of the image but I like that).
I found this page: http://members.ozemail.com.au/~hodsond/gimp.html which contains some nice GIMP plugins. I used the Correct Lens Distortion (and then a small rotate by -0.15) to straighten the horizon.
Finally, a crop, a (very) small curve adjustment and a little bit of sharpening and there we go.


